How to remove skin Acne and make it clear & Smooth using Photoshop
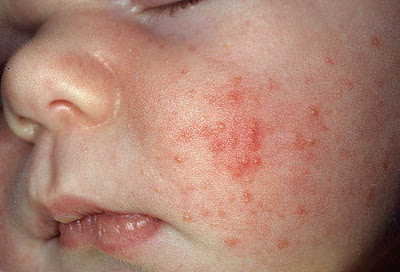
If you ever had a digital photograph and wanted to remove acne from the person then you can learn to use the Healing Brush Tool to control acne using Photoshop with our guide below.

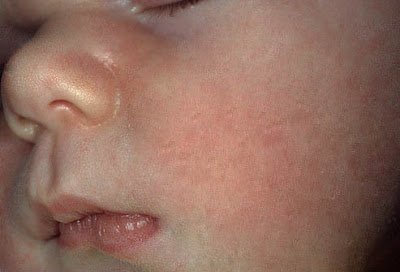
2. Next, click on your “Healing Brush Tool” and set your brush to the size of 10px for this tutorial. When selecting your brush size, set your “Hardness” to 100% and your “Spacing” to 25%. Now press Alt+Click The Mouse over a non-blemished area and then clicked over the blemished area to replace it.
3. To clear up areas where two distinct colors of acne are near, set your “Hardness” to 65% so you can blend the areas more naturally.

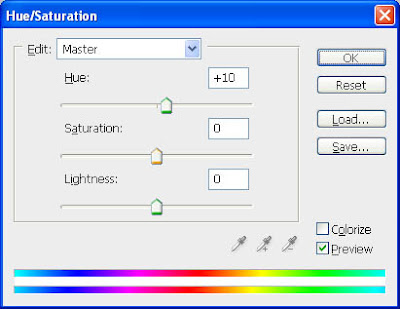
4. Then, click on Layer > New Adjustment Layer > Hue/Saturation to balance the colors. I increased the Hue slider by 10 points to even out the reddish blemishes on the women in this example.

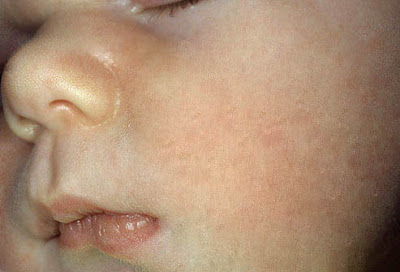
5. Your final image should look like the one below when your finished.


No Comment to " How to remove skin Acne and make it clear & Smooth using Photoshop "